Are you looking to spruce your home with a fresh, professional finish? Look no further than Acry-Tech Coatings. Our high-quality, durable coatings are perfect for DIY home improvement projects, offering durability, ease of use, and a stunning finish that rivals professional work. In this blog post, we’ll explain the benefits of using Acry-Tech Coatings and provide a step-by-step process to help you achieve the best results.
Why Choose Acry-Tech Coatings for Your DIY Projects?
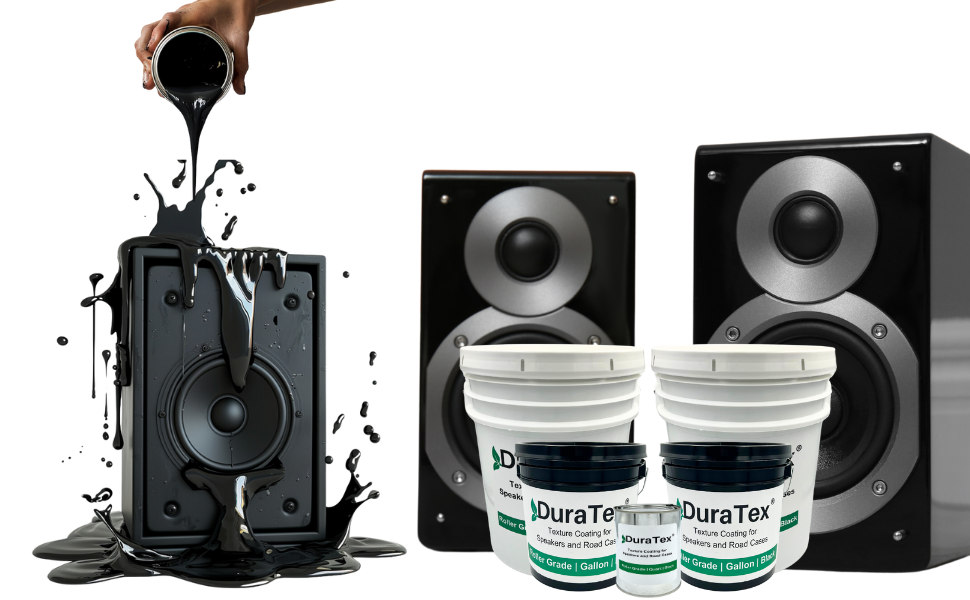
1. Superior Durability Acry-Tech Coatings are renowned for their durability. Whether you’re coating stairs, floors, decks, roofs, or speaker cabinets, our products are designed to withstand wear and tear, ensuring a long-lasting finish. This durability means your hard work will stand the test of time, even in high-traffic areas or harsh weather conditions.
2. Easy Application One of the standout features of Acry-Tech Coatings is their ease of application. You don’t need to be a professional to achieve a flawless, professional finish. Our coatings are designed for DIY enthusiasts, offering a smooth and straightforward application process. With minimal preparation and simple tools, you can transform your space quickly and efficiently.
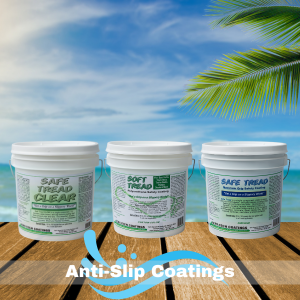
3. Versatility Acry-Tech Coatings are incredibly versatile. They can be used on various surfaces, including wood, metal, concrete, and more. This versatility makes them an excellent choice for numerous improvement projects, from refreshing speaker cabinets to revamping boat docks.
4. Eco-Friendly We take pride in offering environmentally friendly products. Our coatings are low in volatile organic compounds (VOCs), making them safer for you and the environment. You can enjoy a beautiful, durable finish without compromising on sustainability.
Step-by-Step Guide to Using Acry-Tech Coatings
Step 1: Prepare the surface before applying Acry-Tech Coatings; ensure the surface is clean, dry, and free of any loose material. For best results, lightly sand the surface to create a smooth, even base. This preparation will help the coating adhere better and last longer.
Step 2: Choose the Right Product Select the Acry-Tech product that best suits your needs. Whether you’re working on an indoor or outdoor project, we have a range of versatile coatings designed for various applications. Check our product descriptions to find the perfect match for your project.
Step 3: Apply the coating evenly using a texture roller, or sprayer. Start with a thin layer and let it dry completely before adding coats. Follow the drying times and application instructions on the product label for optimal results.
Step 4: Let It Cure allow the coating to cure fully before using the surface. This curing period ensures maximum durability and protection. Curing times may vary depending on the product and environmental conditions, so be sure to check the label for specific guidelines.
Step 5: Enjoy Your Professional Finish Once the coating has cured, step back and admire your handiwork. With Acry-Tech Coatings, you can achieve a professional-grade finish that enhances the beauty and longevity of your projects.
Conclusion
Acry-Tech Coatings are the perfect solution for DIY improvement projects. Our superior durability, easy application, and eco-friendly properties make them a favorite among DIY enthusiasts. By following our simple step-by-step guide, you can achieve a stunning, professional finish that will make your projects shine.
Ready to get started? Visit Acry-Tech Coatings to explore our range of products and find the perfect solution for your next DIY project. Happy DIY-ing!
Read more about our products:


